In a world where sharing moments is just a click away, knowing how to take a screenshot on Windows is a game changer. Whether it’s capturing that hilarious meme your friend sent or saving important work documents, mastering this skill can elevate anyone’s digital life. It’s like having a magic camera at your fingertips, ready to snap the perfect shot of whatever’s on your screen.
Table of Contents
ToggleUnderstanding Screenshots
Screenshots capture visual content displayed on a screen. They serve a variety of purposes, from documenting tasks to sharing information quickly. Knowing how to take a screenshot can enhance communication and improve productivity.
Screenshots find application in numerous scenarios. For instance, capturing an error message facilitates troubleshooting. Sharing a portion of a webpage allows for focused discussions without extraneous content. Providing visual feedback in documents streamlines revisions, making processes more efficient.
Several methods exist for taking screenshots on Windows. Users can utilize the Snipping Tool for customized captures. This tool offers various options, including freeform, rectangular, window, and full-screen snips. Keyboard shortcuts also simplify the task, with combinations like PrtScn or Alt + PrtScn providing quick solutions.
Creating and saving screenshots on Windows is straightforward. Capturing a screenshot with the Windows key and PrtScn automatically saves it in the Pictures folder. For more control, pasting a captured screenshot into an image editor allows for edits and annotations before saving.
Understanding the various formats available for screenshots is crucial. Common formats like PNG and JPEG cater to different needs. PNG supports transparency, while JPEG offers compressed file sizes, making it suitable for sharing online.
Exploring screenshot tools and features can greatly enhance user experience. Familiarity with built-in options, like Windows Snip & Sketch, leads to more efficient workflows. Learning to organize and retrieve screenshots efficiently contributes to effective digital management.
Methods to Take a Screenshot on Windows

Several methods exist for taking screenshots on Windows. Each method offers unique features and simplicity for different needs.
Using Print Screen Key
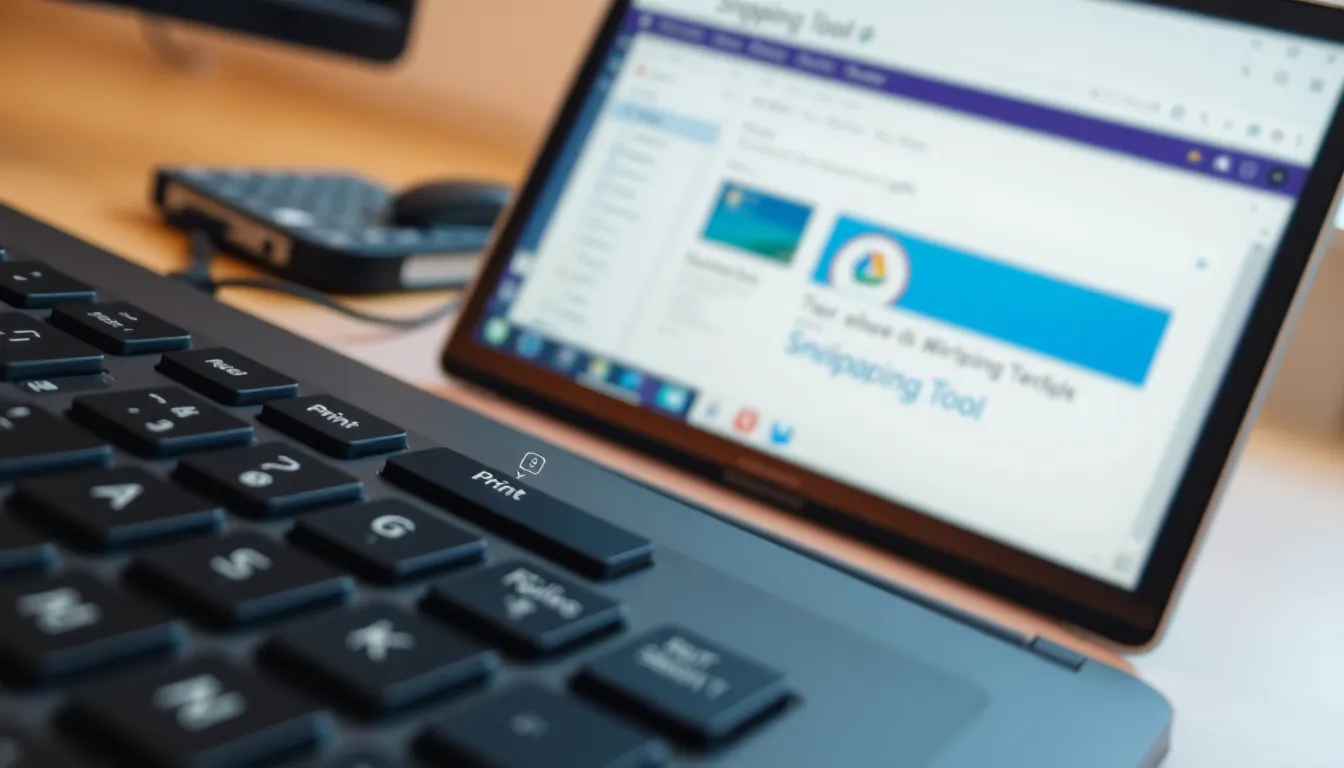
The Print Screen key, often labeled as PrtScn, captures the entire screen. Pressing PrtScn takes a snapshot, saving it to the clipboard. Pasting the image into an application like Paint or Word allows users to edit or save it. For specific windows, holding Alt while pressing PrtScn captures only the active window. This method works well for quick screen grabs.
Using Snipping Tool
Snipping Tool provides more versatility for screenshots. Opening the Snipping Tool grants options to capture the entire screen, a rectangular area, a freeform shape, or a specific window. Users can annotate, save, or share the screenshots directly from the tool. This built-in application offers a convenient interface for editing screenshots before saving. Accessing Snipping Tool is straightforward through the Windows search bar.
Using Snip & Sketch
Snip & Sketch enhances the screenshot experience on Windows. This tool allows users to take quick screenshots and edit them instantly. Pressing Windows key + Shift + S opens Snip & Sketch, allowing rectangle, freeform, window, or full-screen captures. The captured image appears in a notification, leading to editing options. This method integrates seamlessly into workflows, making it effective for quick documentation and sharing.
Advanced Screenshot Techniques
Exploring advanced techniques for taking screenshots on Windows enhances efficiency significantly. Users can capture specific content with ease, allowing for more targeted information sharing.
Capturing a Specific Window
To capture a specific window, press Alt + PrtScn. This combination focuses on the active window, capturing it without any distractions from other screens. After capturing, pasting the screenshot directly into an editing application occurs with Ctrl + V. This method ensures clarity, especially when documenting issues or sharing important information quickly. Snip & Sketch also allows for specific window captures; click on the capture option and select the window you need. This tool provides an additional layer for annotations before saving, making it an excellent choice.
Taking a Full-Screen Screenshot
Taking a full-screen screenshot is straightforward. Pressing the PrtScn key captures everything displayed on the screen at that moment. This method offers a quick way to gather all visible information. For users who prefer saving directly, Windows + PrtScn saves an image file in the Screenshots folder under Pictures. This file format stays as a PNG by default, preserving image quality. Use Snip & Sketch for immediate screen viewing and editing after capturing, offering flexibility in handling content efficiently.
Troubleshooting Common Issues
Encountering issues while taking screenshots on Windows can be frustrating. Users may find that the Print Screen key does not capture the screen properly. First, ensure that the key is functioning correctly by testing it in different applications. If it’s still unresponsive, restarting the computer might resolve underlying issues.
Snipping Tool may not open for some users. Checking for Windows updates often resolves app-related problems. If Snipping Tool remains unresponsive, using the built-in troubleshooter can identify and fix issues. Accessing this tool requires navigating to Settings, then Update & Security, and selecting Troubleshoot.
Lost screenshots present another common problem. Users should check their Screenshots folder, typically located in the Pictures library. If the screenshot cannot be found, ensuring that the save location is correctly set in Snip & Sketch or other applications can help. Alternately, check the clipboard by pasting into an application like Paint or Word.
Some users may face difficulties in editing screenshots. Using Snip & Sketch allows users to quickly edit after capture. Should the editing features not respond, confirming that the application has the necessary permissions in Windows settings is essential.
Performance issues while taking screenshots might occur on older devices. Closing unnecessary programs can improve performance. Increasing system resources, like freeing up RAM, often helps alleviate lagging or freezing during the screenshot process.
With these troubleshooting tips, users can efficiently resolve common issues and enhance their screenshot-taking experience on Windows.
Mastering the art of taking screenshots on Windows is a valuable skill that can enhance anyone’s digital experience. With a variety of methods available users can effortlessly capture important moments or share information quickly. Whether it’s using the Print Screen key or exploring tools like Snipping Tool and Snip & Sketch there’s a solution for every need.
By understanding these techniques and troubleshooting common issues users can ensure a smooth and efficient screenshot experience. This skill not only aids in documentation but also simplifies communication in both personal and professional settings. Embracing these tools will undoubtedly make digital interactions more effective and enjoyable.


