

In today’s digital world, capturing the perfect screenshot on Windows is like having a superpower. Whether it’s snagging that hilarious meme from your friend or saving important work documents, knowing how to screenshot can save the day. But let’s be honest—who wants to fumble around with complicated software when you can master this skill in a few simple steps?
Fear not, Windows users! It’s time to ditch the confusion and embrace the ease of taking screenshots. With a few handy shortcuts and tools at your disposal, you’ll be snapping away like a pro in no time. So grab your coffee, settle in, and get ready to unlock the secrets of screenshotting that will make you the envy of all your tech-savvy friends.
Overview of Screenshotting on Windows
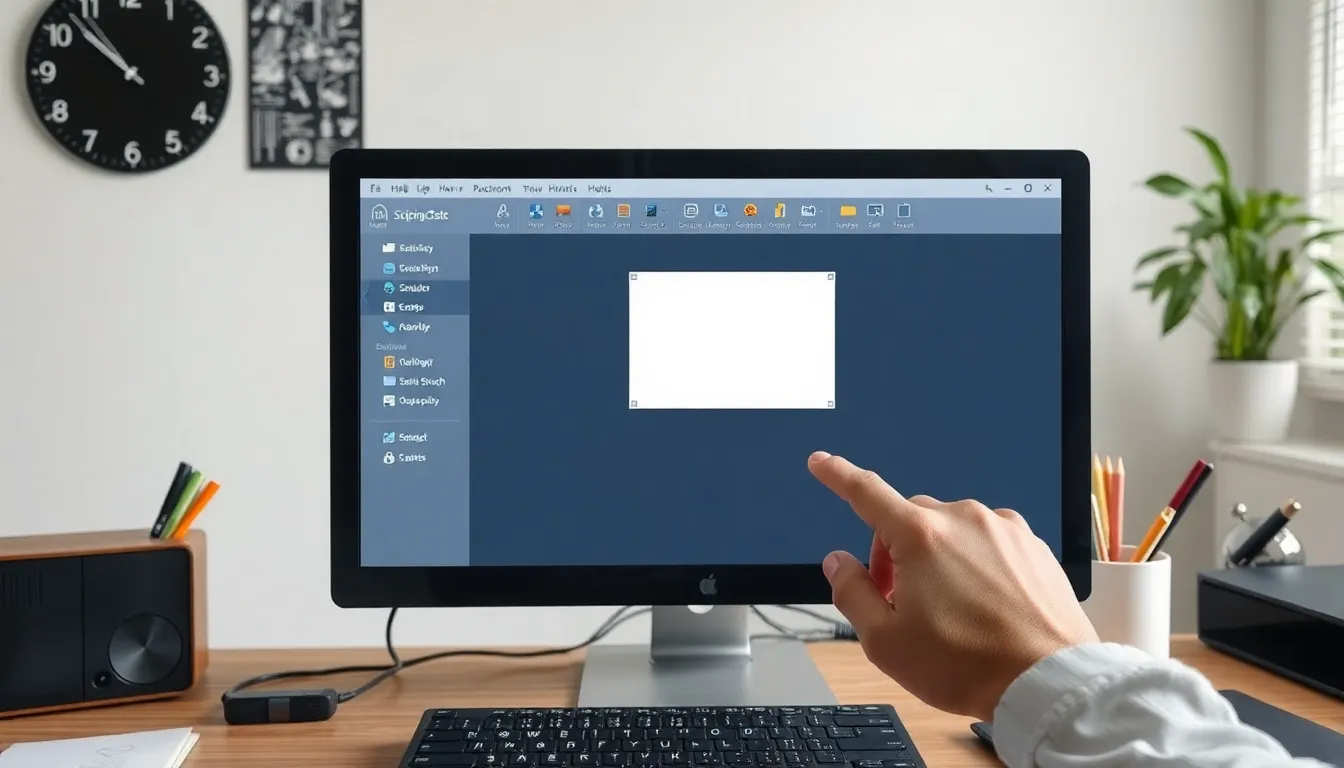
Screenshotting on Windows offers various methods to capture screens quickly and efficiently. Users can benefit from tools built into the operating system, providing options for different needs. Every method has unique features that cater to specific screenshotting requirements.
Using the Print Screen key, for example, allows for easy capturing of the entire screen. Pressing Windows key plus Print Screen saves the screenshot directly to the Pictures folder under Screenshots. Snipping Tool enables users to select a specific portion of the screen for focused captures. This tool provides four different snipping modes: Free-form, Rectangular, Window, and Full-screen.
Another option, Snip & Sketch, adds annotation capabilities to screenshots. It combines quick capture with editing features to enhance captured images. Activating this tool requires pressing Windows key plus Shift plus S, initiating a clip, which users can then edit and save.
Third-party applications also enhance screenshotting capabilities. Tools like Greenshot and Lightshot offer additional editing options and user-friendly interfaces. These applications provide functionality that can surpass built-in options for advanced users.
Understanding these various methods allows users to select the best approach based on their needs. Mastering screenshotting techniques can lead to increased productivity, making it easier to share vital information with others. Taking the time to explore these options empowers Windows users to capture screens more effectively.
Built-in Screenshot Tools
Windows offers several built-in tools for taking screenshots, each catering to different user needs.
Snipping Tool
The Snipping Tool allows users to capture specific areas of their screen. It provides four modes: Free-form, Rectangular, Window, and Full-screen snip. Free-form snip lets individuals draw custom shapes around content. Rectangular snip works well for capturing precise rectangular areas. Window snip focuses on entire windows, while Full-screen snip captures everything on the display. Users can save, annotate, and share images directly from the tool, enhancing flexibility.
Snip & Sketch
Snip & Sketch combines screenshot capabilities with robust editing features. This tool enables quick captures with options for annotating images right after capture. Upon taking a screenshot, users receive a notification that opens the image in the Snip & Sketch app. Edited screenshots can be saved, copied to the clipboard, or shared easily. This tool emphasizes efficiency for users who need both capturing and editing functionalities without switching between multiple applications.
Print Screen Method
The Print Screen method serves as the most straightforward way to take screenshots in Windows. Pressing the Print Screen key captures the entire screen, placing it on the clipboard. By using Alt + Print Screen, users can focus solely on the active window. The combination of Windows + Print Screen allows automatic saving of the screenshot in the Pictures folder. This versatile method accommodates different scenarios, making it a popular choice for quick captures and sharing.
Third-party Screenshot Applications
Third-party screenshot applications provide additional functionality for users wanting more than standard tools. These applications enhance the screenshotting experience with editing options and customization.
Popular Options
Greenshot and Lightshot rank among the most favored third-party screenshot applications. Greenshot offers a lightweight experience, featuring multiple capture options and integrated editing tools. Lightshot stands out for its simplicity and ease of use, allowing quick image upload and sharing. Snagit appeals to professionals, providing advanced editing, video capture, and organizational features. Each of these options caters to diverse user needs, ensuring everyone finds a suitable solution.
Features to Consider
When selecting a third-party screenshot application, consider editing capabilities like annotation tools, text options, and image formatting. Speed and ease of use significantly impact efficiency, making it crucial to choose applications that facilitate quick captures. Additionally, look for cloud storage integration to ensure easy access and sharing. Compatibility with various file formats enhances versatility, allowing users to save images in their preferred styles. Lastly, check for user support options that can assist with troubleshooting or feature explanations.
Tips for Effective Screenshots
Effective screenshots enhance communication and make information sharing clearer. Using the right techniques can elevate the quality of captures.
Editing Screenshots
Editing transforms basic screenshots into polished visuals. Users can open images in built-in tools like Snip & Sketch for instant annotation and highlighting. Adding arrows or shapes emphasizes important details, while text boxes provide context. Third-party applications such as Greenshot and Lightshot offer advanced editing features, including blur effects and borders. They enable users to fine-tune images quickly. Consistency in style across multiple screenshots maintains visual coherence. Quick adjustments can make screenshots more effective for presentations or reports.
Organizing Screenshots
Organizing screenshots improves retrieval and usability. Designating a specific folder for all screenshots streamlines access. Utilizing subfolders for categories like work, personal, and tutorials further simplifies navigation. Renaming files with descriptive titles aids in identification at a glance, eliminating confusion. Including dates in the filename can also facilitate chronological sorting. Cloud storage options such as Google Drive or OneDrive allow for seamless access across devices. Regularly reviewing and deleting unnecessary screenshots can keep digital spaces clutter-free and efficient.
Mastering the art of screenshotting on Windows opens up a world of possibilities for users. With various built-in tools and third-party applications at their disposal, anyone can easily capture and share vital information. By experimenting with different methods like the Print Screen key, Snipping Tool, and Snip & Sketch, users can find the technique that best suits their needs.
Enhancing screenshots through editing and organization not only improves clarity but also boosts productivity. By following the tips provided, users can transform simple captures into effective communication tools. Embracing these skills will not only impress friends but also elevate one’s digital experience.